How to Take Effective Before & After Photos
Photographs and imagery are a great way to show off what you can do as a clinic and attract new customers for aesthetic treatments.
Photos are often one of the first things that people look at when deciding whether they want a treatment or not and having photos which show clear changes offers assurance of your skills and the treatment’s efficacy.
While you don’t need to hire a professional photographer to capture photos, you must ensure you’re following some key elements to create eye-catching and convincing imagery.

Equipment & environment
It is rare that you would need anything more powerful than your mobile camera.
Lighting, however, is key. You want to ensure that you’re taking your photos in a well-lit room whilst avoiding shadows being cast on your subject. Sometimes this can be difficult with rooms that have windows or direct ceiling lights.
Reflectors are a cheap and effective way of reducing shadows by reflecting whatever light is naturally present into dark corners.
Light sources should be soft and not too close to the subject.
Tripods can also be helpful – using a tripod will enable you to keep your height consistent while also avoiding camera shake, particularly when filming video.
Subject & preparation
Before any treatment or treatment photography you must always get consent from your patient. You can avoid any later consent disagreements by asking the patient to sign a consent form.
When taking photos of the face:
The patient’s skin should be cleansed and makeup free.
The hair should be moved away from the face, we recommend that patients wear a headband for this.
There must be a neutral expression with eyes open and no smiling/no stretching of the skin.
Take at least one photo of the entire face.
If the patient would prefer, you could place a bar over their eyes to hide their identity.
When taking photos of the body:
Ensure patients are wearing the same clothes for each photo.
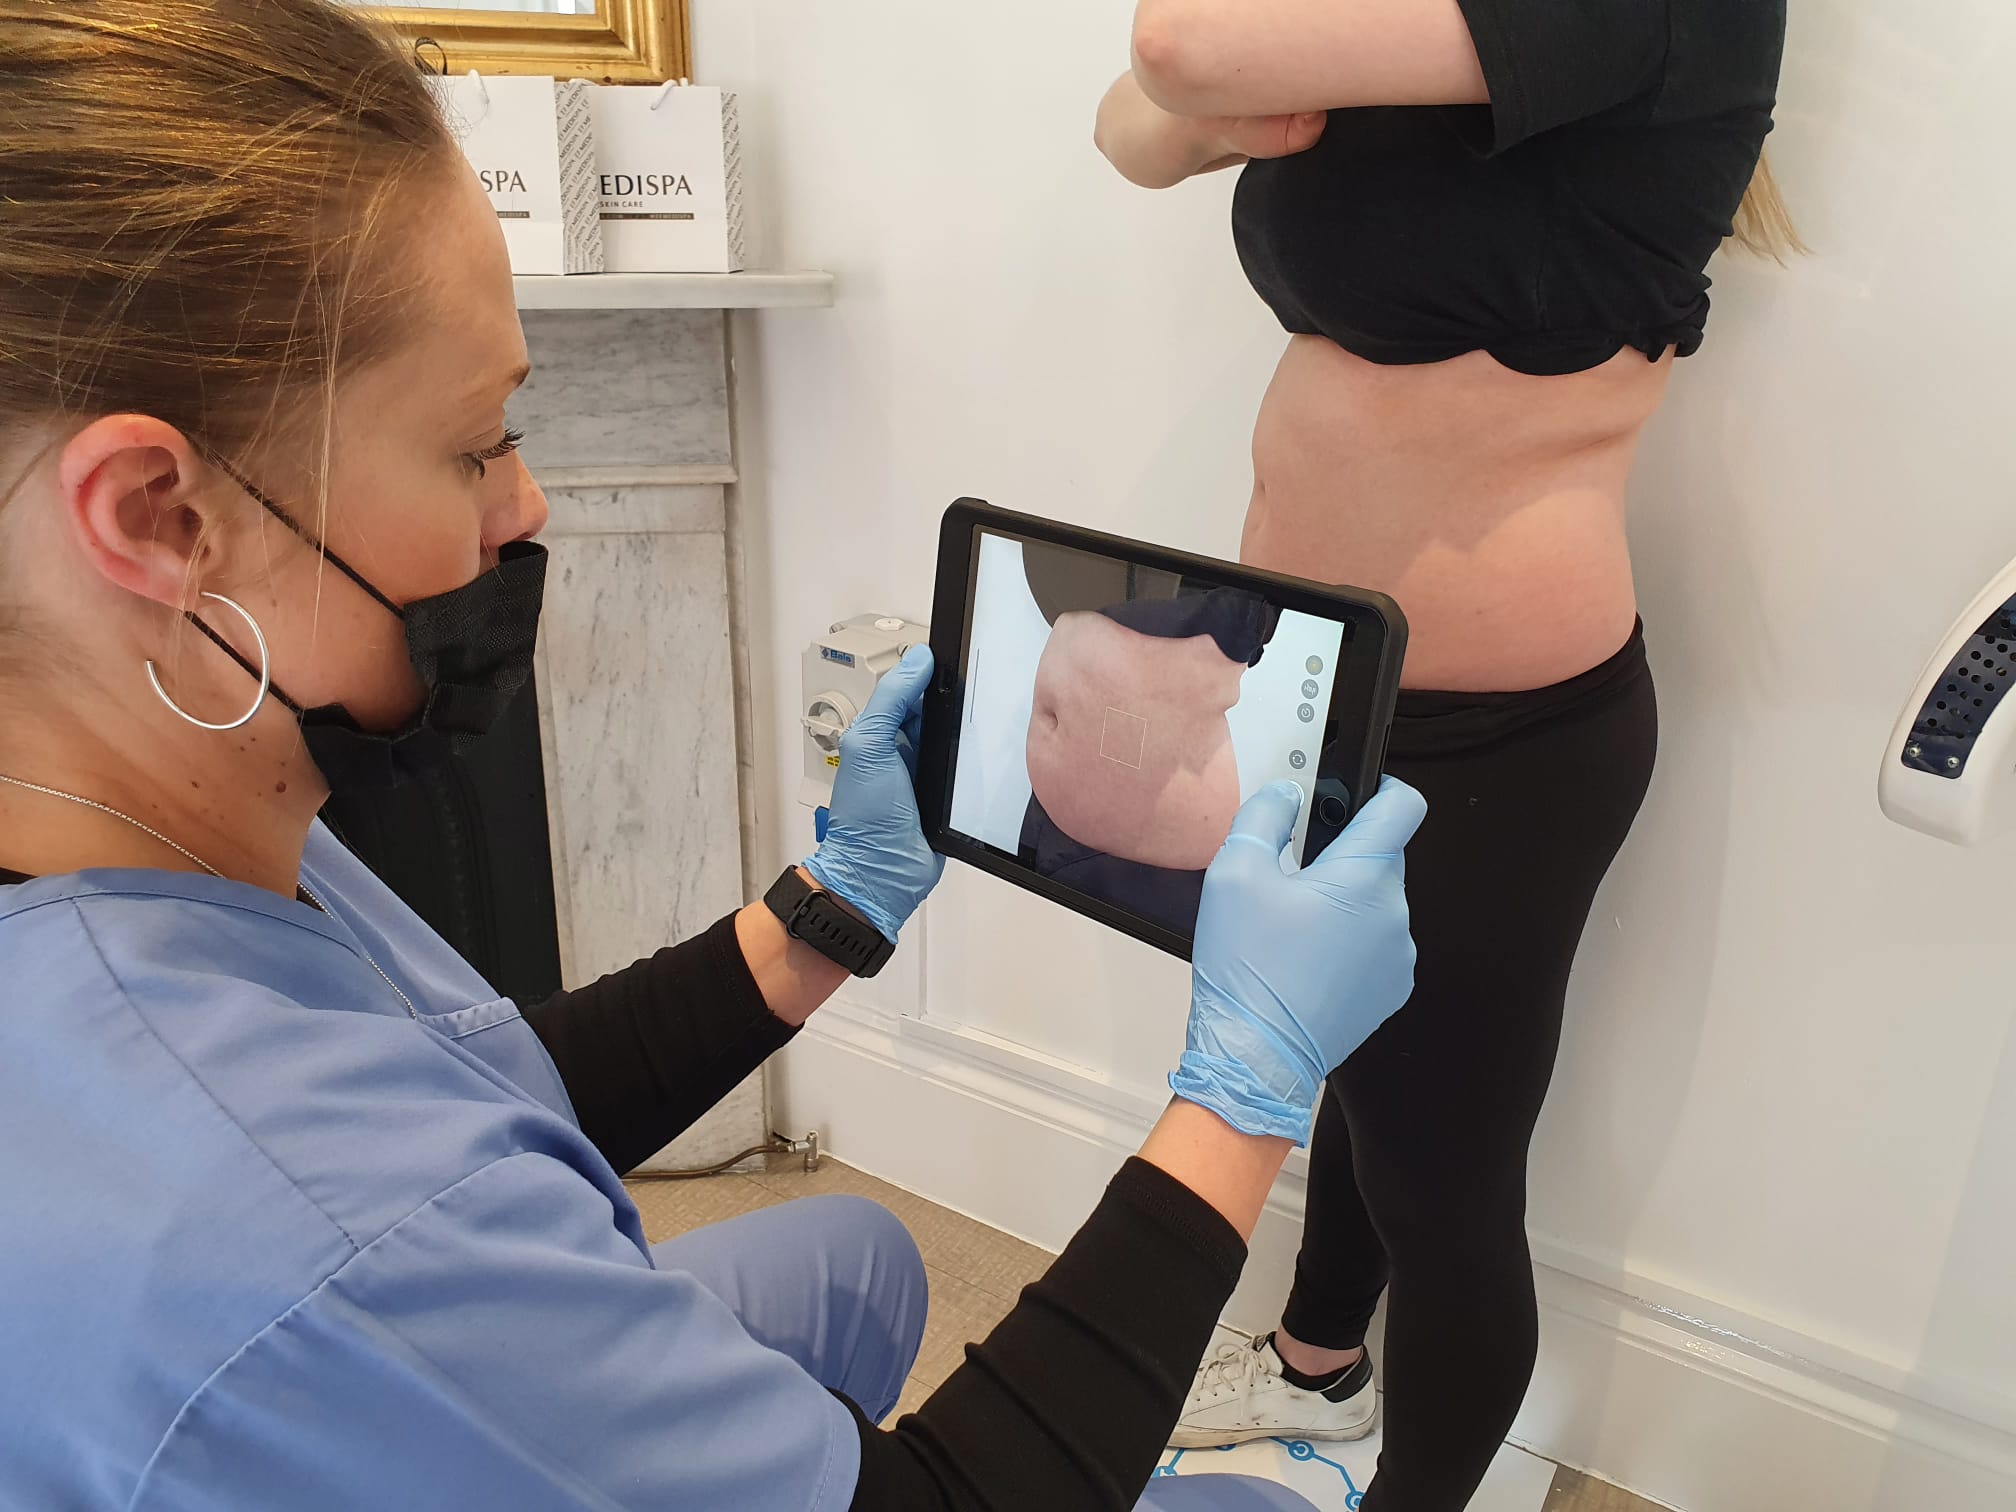
Ensure the whole treatment area is completely visible.
For the groin/bikini area it’s best for your patients to wear dark underwear, or you could consider having disposable ones in clinic.

LeeAnn Palmer’s Top Tips
Our head of aesthetic training, LeeAnn Palmer, has extensive experience in clinical photography. Having a standardised practice for your clinical photography will allow you to accurately measure the success of your treatments.
1. The positioning of the patients is very important, they must be stood up and placed against a uniform background (i.e. a completely white wall). “I use a 5 angle technique to take my clinical photos – firstly I shoot them facing forward followed by 45° to the left, 90° to the left again and then 45° to the right and finally 90° to the right. Doing this allows me to capture almost every angle of the before and after and will allow me to see where my treatment has been successful. When doing photography for body treatments I will repeat this process but also include the back.”
2. Lighting of the environment is crucial – bright and no shadows, LeeAnn always opts for a ring light or a mag lamp.
3. The patient must move – not the camera! Your camera must always be consistent.
4. Remove all jewellery.
5. Timing – you must take photos before the treatment and then again at designated follow up periods, for example, at one month, 3 months & 6 months. This way you can demonstrate the changes over time.
Common mistakes
Don’t worry, it’s easy to make mistakes but our article is here to help you up your clinical photography game.
The biggest mistakes that we see in clinical photography are:
Inconsistent lighting – Harsh, direct lighting casting shadows over patients face/body meaning the image isn’t clear/hard to see the actual treatment area.
Positioning of subject – Often we see before & after photos with patients changing the angle of their body or face. This ruins the validity of the comparison and may lead customers to believe that you are intentionally trying to exaggerate the treatment effects.
Use of filters – Similarly, using any filters or heavy editing of either or both of the photos reduces the believability of the photos.


